前回はDomino DesignerからSubversion(SVN)サーバに接続すところまででした。
IBM Domino Designer 9.0.1 でSubversionとの連携 – ishiitのブログ
今回はデータベースをSubversionサーバにアップロードするところです。
オンディスクプロジェクトの作成
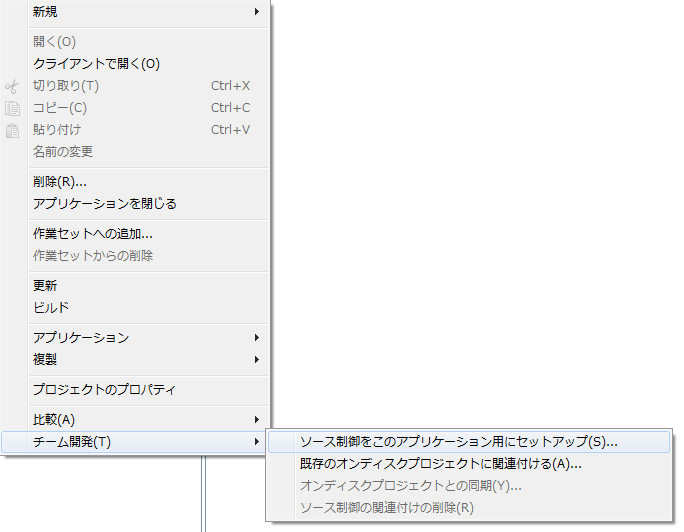
DominoDesignerでアプリケーションを右クリックして、[チーム開発] – [ソース制御をこのアプリケーション用にセットアップ] をクリックします

オンディスクプロジェクトについての説明です。
終了をクリックします

オンディスクプロジェクトのプロジェクト名を入力します
終了をクリックします

Subversionサーバへアップロードします
SVNの構成としては、Dominoというレポジトリを作成し、trunkの中に各データベースを保管していくようにします。
作成されたオンディスクプロジェクトを右クリックします
[チーム] – [プロジェクトの共用] をクリックします

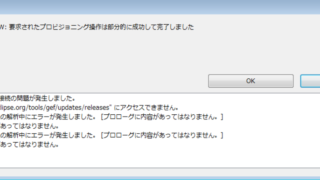
エラーが2回発生しますが、OKをクリックしてください。


リポジトリのURLを入力します

今回はtrunkの中に作成します

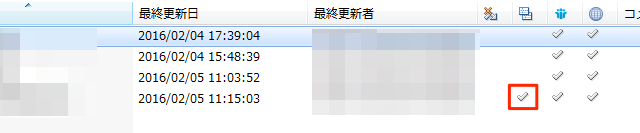
初期状態では何も選択されていないので、「すべてを選択」をクリックしてOKをクリックするとすべてがアップロードされます。
もしすべてをアップロードしたくない場合は個別に選択してください。

SVNの確認
svnビューを開きます
[ウィンドウ] – [Eclipse ビューの表示] – [その他]をクリック

[SVN] – [SVNリポジトリ] を選択して、OKをクリックします

開いたSVNビューの右上にある「SVNリポジトリーの追加」をクリックします

アップロードするときに入力したリポジトリのロケーションを入力し終了をクリックします

先ほどアップロードしたプロジェクトがあれば成功です