スポンサーリンク
AWS Client VPNのダウンロードはこちらから
マネージメントコンソールで、プロファイルのダウンロードまでは終わらせておいてください。
スポンサーリンク
Windows10へのインストール
ダウンロードしたAWS_VPN_Client.msiを実行します。
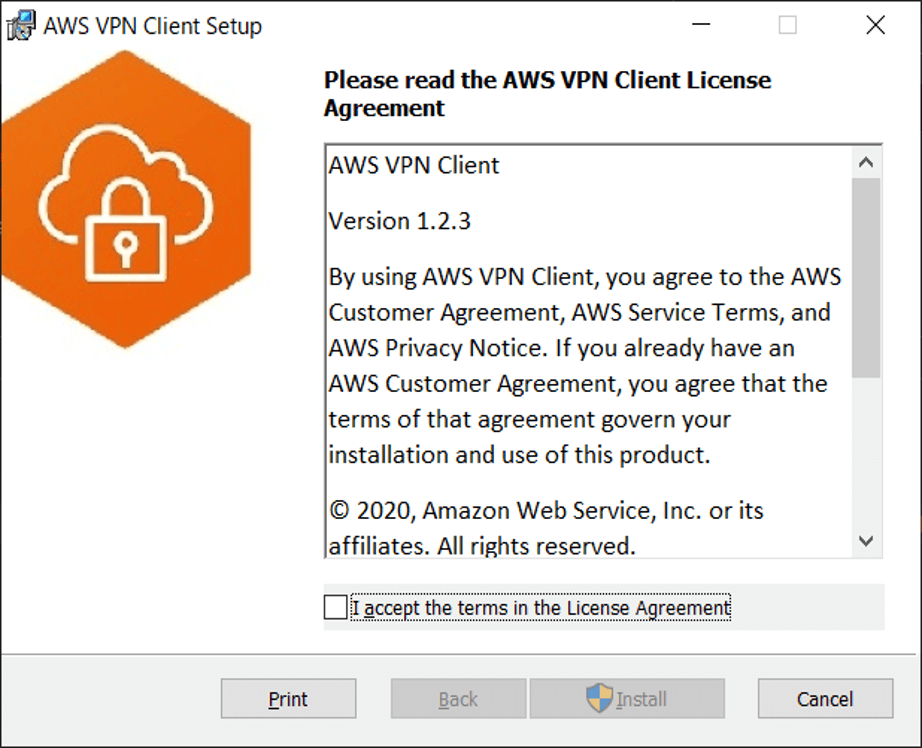
「I accept the terms in the License Agreement」をクリックしてチェックします。
「Install」をクリックします。
UAC(ユーザーアカウント制御)が表示されるので「はい」をクリックします。
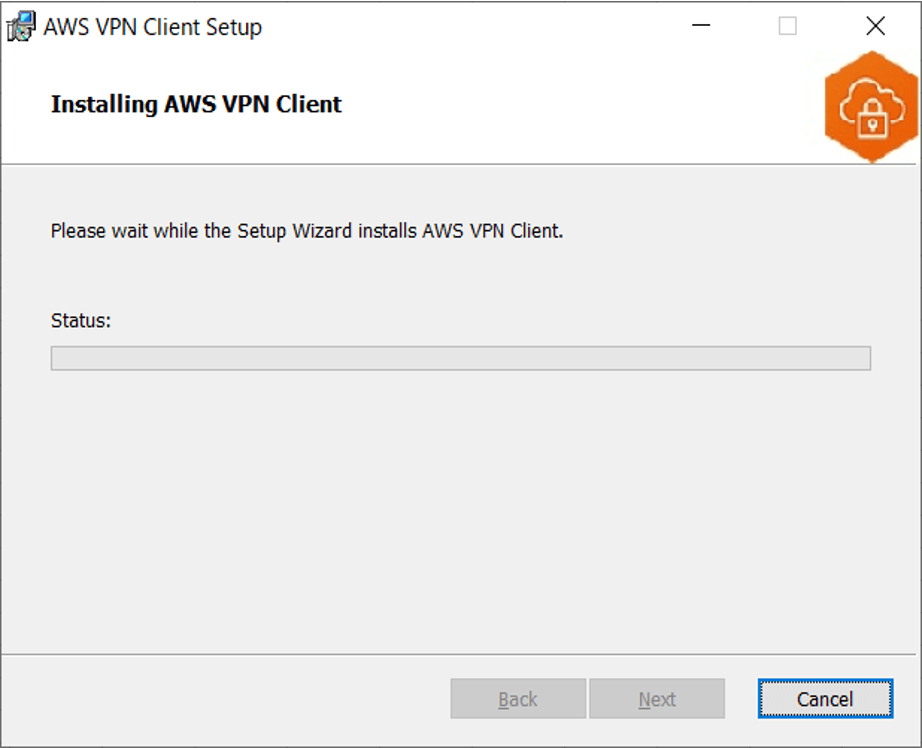
インストールが開始されます。
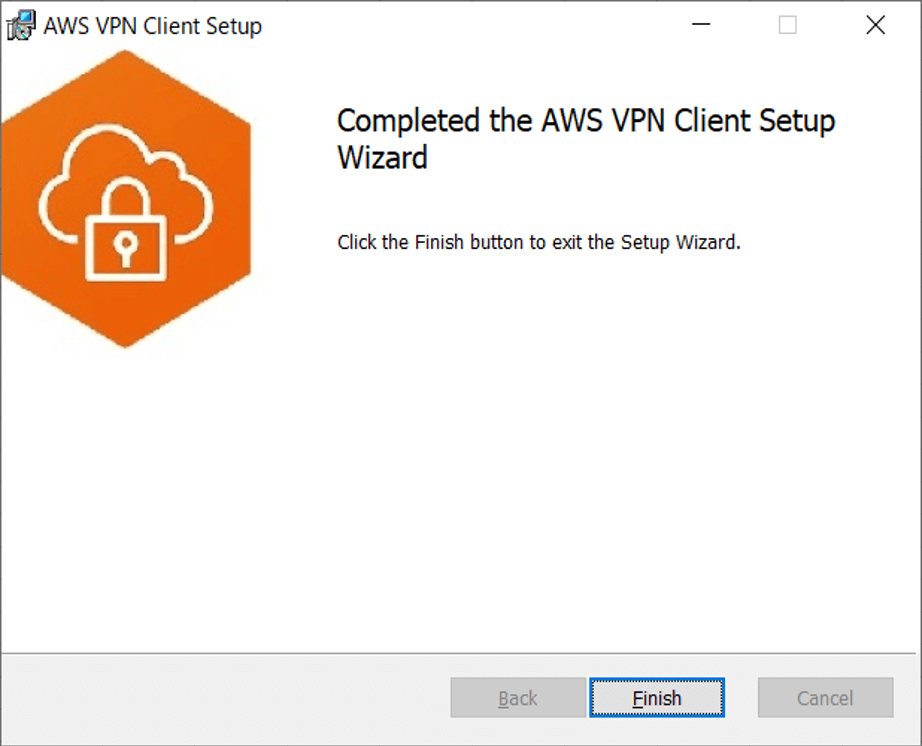
インストールが完了しました。
「Finish」をクリックします。
プロファイルの導入
AWS VPN Clientを起動します。
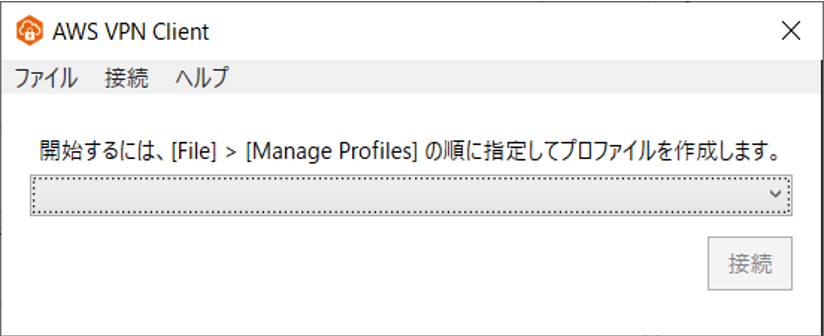
「ファイル」ー「プロファイル管理」をクリックします。

「プロファイル追加」をクリックします。

「表示名」を入力します。
「VPN設定ファイル」に用意しておいたクライアント設定プロファイルを読み込みます。
「プロファイルを追加」をクリックします。
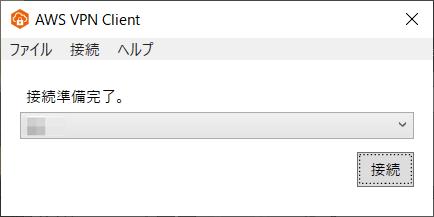
プロファイルが読み込まれ接続準備が完了となりました。
「接続」をクリックします。
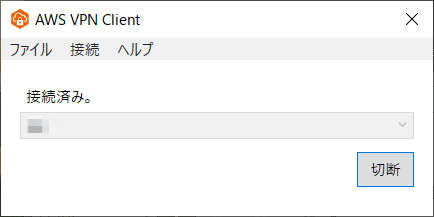
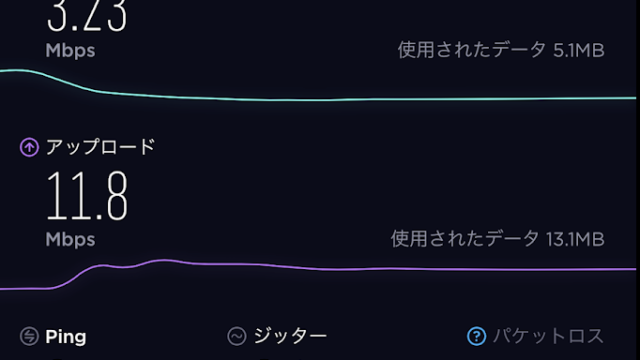
接続できました。
通信ができるか確認してください。
「切断」をクリックすると切断されます。
スポンサーリンク
スポンサーリンク